The Best Blueberry Wine Recipe For Beginners
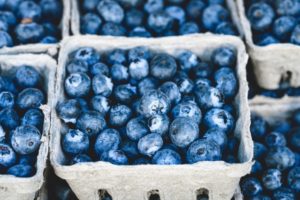
Fresh blueberries are like a gift from above for desserts and shakes!
But by far, one of the BEST things you could do with blueberries, is turn them into WINE.
If you’re wondering what to do with that bumper crop of fresh blueberries you’ve just picked up, making wine out of them is an excellent idea!
Making wine, especially from scratch, may seem like a lot of time and work, which it is, but it will all be worth it in the end!
Here’s how you can get started on your first step to becoming a sommelier!
Home Sommelier Kit

12/08/2022 05:47 am GMT
You don’t have to go to a fancy-schmancy factory to make your wine.
We’re here to help break down wine-making so that you can do it right at home with this easy, homemade blueberry wine recipe!
To start your wine-making journey, here are the tools and equipment you’ll need for your wine recipes!
- Potato Masher
- A long-handled spoon
- Funnel
- Automatic Siphon or Siphon Tube
- Bung and Air Lock
- Hydrometer
- Straining Bag
- Primary And Secondary Fermentation Bin/Bucket
- Clear wine bottles
- Corks and a Corker
- Wine thief (Optional)
You can also pick up a wine starter kit to get most of these tools at once.
Main Homemade Blueberry Wine Ingredients
- 1 tsp Acid blend or Citric acid
- 3lbs of fresh or frozen blueberries
- 1/4 tsp Yeast Nutrient
- Wine Yeast packet
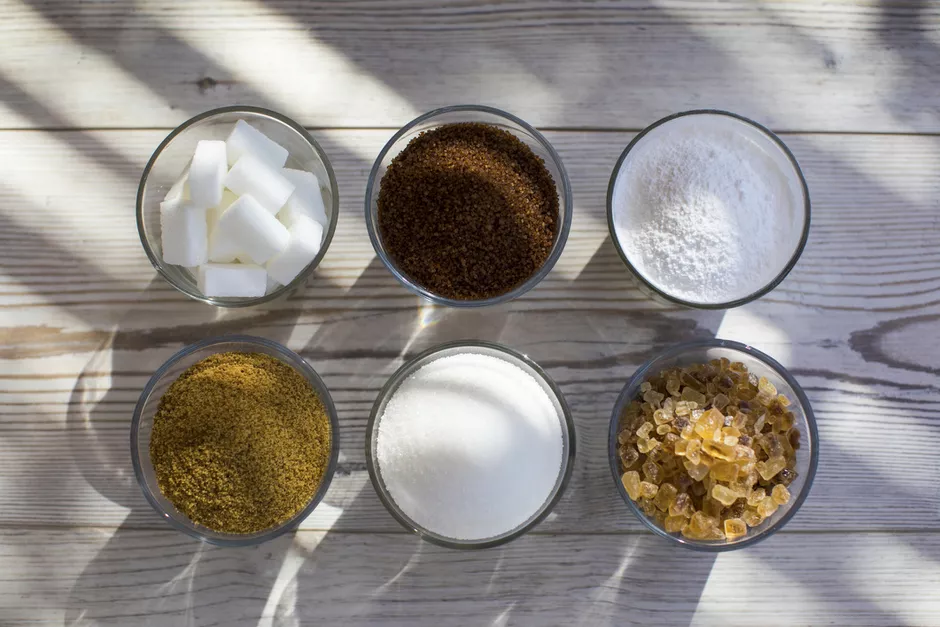
- 2 and 1/4lbs of granulated White, Brown, or Cane sugar (We recommend the Cane sugar!)
- Enough water to fill, about 4.2l
The amount of wine yeast you’ll need to use will depend on you, but check the packet’s instructions to make sure.
Note that this recipe will make enough for ONE GALLON of blueberry wine.
Optional Blueberry Wine Ingredients
While these items aren’t absolute essentials, they’ll be a GREAT help in speeding up the wine-making process.
- Wine stabilizer (We recommend using Potassium sorbate or 1 Campden tablet)
- 1/2 tsp Pectic Enzyme
- 1/4tsp Grape Tannin
- 2 tbsp of Oak chips
Why Do We Need So Many Ingredients?
Many of the ingredients listed above are optional as long as you don’t mind a very dry wine, of course.
We’ll break down what some of these “optional” ingredients do here.
Sugar
Sugar is all-important so that your yeast has something to eat and wake it up. It also gets turned into the fun stuff: alcohol!
You could still end up with a dry wine because your yeast ate all your sugar.
Keep your preferences in mind when you get into wine making to control the flavors!
Yeast
Think of yeast as the magic spell for homemade blueberry wine and all homebrews. This is an “optional” ingredient because we recommend using a commercial strain of yeast.
When you crush up your fresh or frozen fruit and throw it in to ferment, it will already have “Wild” yeast on it.
This wild yeast occurs naturally on fruits and in the soil but adding a specific strain of yeast helps you control the process better.
Wine Additives/Stabilizers
For example, a pectic enzyme is perfect for getting rid of that weird pectin haze you might see in your wine bottle, and the Campden tablet will help rid your blueberry wine of bacteria.
If sugar is your yeast’s food, then yeast nutrients are like steroids for your yeast. It helps speed up your fermentation and ensures more yeast growth.
Oak chips might sound like a weird thing to add, but their presence is well-deserved.
These chips simulate aging in oak barrels and help impart tannins into the finished wine. It also helps improve the color!
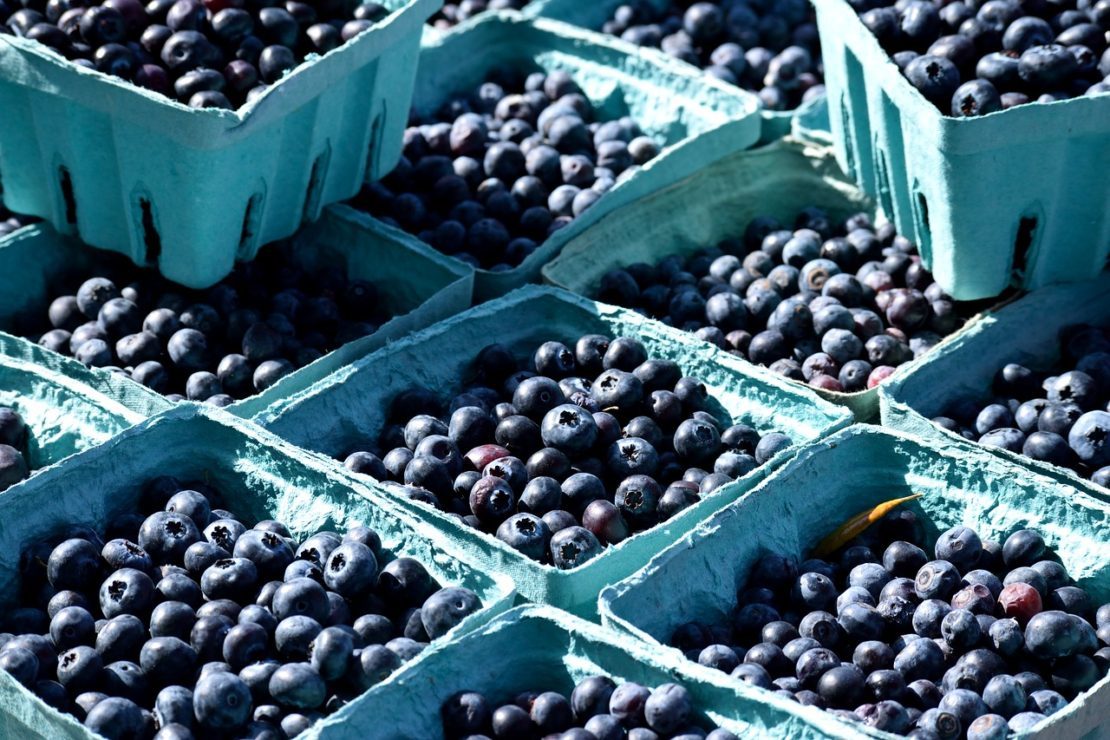
Should I Use Fresh Blueberries or Frozen Blueberries?
It doesn’t actually matter!
Blueberries, in general, don’t need that much preparation before you begin making wine out of them.
Freezing blueberries actually breaks down their cell structure, which helps them release their all-important juice more easily.
This will make sure you get more must per batch!
For the best flavors, take fresh blueberries, then freeze them BEFORE you intend to use them.
If you can’t find any fresh fruit anywhere, then you can easily pick up some frozen blueberries at your local store.
Another excellent bonus of blueberries is that it doesn’t matter how much fruit you use for your wine; Frozen blueberries don’t change in weight at all compared to their fresher cousins.
Remember to Keep It Clean
This is an important reminder before you begin! No matter what wine recipes you’ll be trying, remember to use sanitized bottles throughout the entire process.
However, don’t stop at the bottles! You should sanitize every tool or tube you use during the process every time you use it!
This is both for your and the wine’s safety!
With a clean wine making environment, you’ll eliminate the risk of contaminants and reduce the risk of your wine spoiling in the middle of fermenting.
The level of cleanliness you adhere to will depend on you.
At the very least, pour boiling water on any cooking implements you use, like pots and spoons, to lower the chances of an uninvited guest getting into your wine.
Homemade Blueberry Wine: The Fun Stuff
Now it’s time to get to the actual homemade blueberry wine recipe!
Make sure you have a lot of time on your hands because we’ve got A LOT to do!
1) Blueberry Hunting
Before anything else, you have to source your blueberries from somewhere. Plan out your picking route and schedule accordingly.
Once you’ve got enough fresh blueberries, you can freeze them for extra preparation.
- If you don’t want to spend time freezing them, act fast! Fresh blueberries will only keep for about 5 to 10 days before going bad.
PRO TIP: If you’re getting them from a farm, ensure that these are all organic berries.
- We’ve got nothing against pesticides usually, but they can mess with your wine in peculiar ways.
- Specifically, they can artificially “inflate” your berries without imparting any flavor, which will reflect in your wine!
Consider the appearance of the berries, too. If you spot any that are green or red, avoid them.
Check their firmness and skins since these will affect your must. Mushy berries or split skins are a definite no-go.
If you can, try rolling your fresh blueberries against your finger and palm. If they fall right off the branch, they’re ripe and ready.
2) Prep Prep!
First, make sure that all of the tools you’ll be using are sanitized to your preferred level. You can use chemical sanitizers, like an oxygen wash.
If you’re using frozen berries, you can ignore this part. Otherwise, thoroughly wash your berries, and check the container they’re in for any wriggling houseguests.
If you spot some that are starting to go off or moldy, toss them out! Be sure to also remove any stray leaves or branches and unripe berries.
Now that your berries are prepped, it’s time to place them in a straining bag. Grab your potato masher and start going to town on them.
If your hands are very clean, then you can also do this part by hand. Your mashed blueberries don’t have to look like a puree, but just be thorough.
You might have read other recipes that’ll tell you, “Use a food processor to speed this up!” DON’T listen to them.
Using a processor to mash your frozen fruit will remove the skins your must needs for color and flavor!
This step is messy but fun, so it’s worth doing the right way!
3) Time to Pour
Now that your berries are nice and crushed, you can add all of the sugar to the mix and stir until the sugar has dissolved.
Place the straining bag and mush into a sterilized primary fermentation bin, then set it aside for now.
Next, boil 1/2 a gallon of water, then pour it into the mix.
- Boiling the water at this stage is just an extra disinfection step. You can skip boiling water completely and just pour filtered water into the mix instead.
Leave the must to cool, then add the second half of the water.
Add Extra Ingredients
Now it’s time to add the acid blend, tannins, and yeast nutrients. Mix thoroughly, and set the oak chips aside for now.
Let it cool for a few more hours, then throw in your wine stabilizers.
Remember to crush up the Campden tablet before you add it! After another 12 hours, add your pectic enzyme.
After adding the enzyme, you can take a specific gravity reading with your hydrometer. Then leave the must to sit for another 24 hours.
We advise you to keep a tight lid on it at this stage or use an air lock.
4) The Fermentation Process Begins!
Twenty-four hours after adding the enzyme, you can add the yeast to the wine.
Apply the bung and air lock again and let it sit for another 5-7 days. Check on it daily to see whether the fermentation is happening quickly enough.
Make sure to stir it once or twice a day. Don’t forget to sterilize your stirring spoon!
Place your primary fermentation container in an area that’s away from direct light but where you can still get to it.
We recommend storing it in an area that’s a little cooler than room temperature!
You’ll also start seeing a floating cap of fruit pulp in your primary fermentation container during this stage. Remember to keep breaking it up during your daily stirring sessions.
5) Strain and Drain!
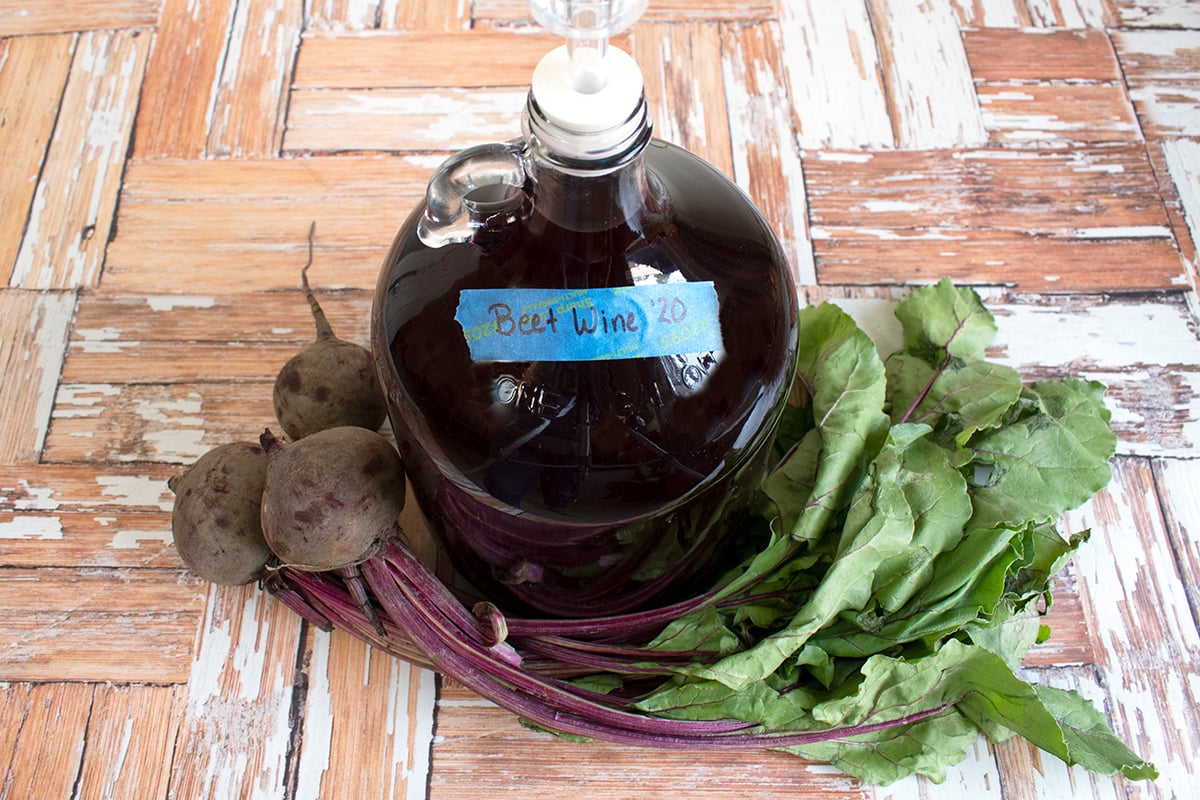
Now it’s time to take out your one-gallon demijohn, the funnel, and your secondary fermentation bucket. Again, make sure they’re sterilized!
It’s time for further fermentation!
Drain your must through the straining bag and over the secondary fermentation bucket. Ask a friend to hold the straining bag while you pour the liquid. Watch out for spills!
- Once you’ve completely strained the liquid out, you can opt to squeeze it for some extra juice. We personally don’t recommend squeezing, but it’s up to you!
- Repeat this step if you still see lots of sediment floating around the freshly-strained must.
Once your young wine looks nice and clear, use the funnel to pour it into the new demijohn and bung it up.
Now’s the time to add those oak chips.
If the headspace looks a little too large, you can compensate by adding sugar and more filtered water. Use a ratio of 3 parts water to 1 part sugar.
On the other hand, if you have too much wine left over, use the wine thief to take an early sample of your goods!
During the second fermentation stage, make sure to keep your container in an area that’s cool but not freezing cold. This phase will last for the next few weeks, so be patient!
6) Racking and Final Touches
For the next 4-6 weeks, you’ll notice lots of bubbles inside your demijohn. That’s perfectly normal. Once the fizzing stops, you can begin the racking process.
- If it’s been a few weeks, but the bubbling still hasn’t stopped, it’s time to check your wine stabilizer’s instructions for a better idea of how to stop fermentation.
- The specific steps will depend on the stabilizer you used.
“Racking” means you’re moving the wine from one container to another without a pump. Instead, you’ll be using gravity.
To do this, place your currently-filled demijohn onto a countertop or other raised surface, then position the new demijohn under it, on the ground.
- Unseal the bung, and stick the siphon tube into your wine. Put the other end into the empty demijohn.
- We recommend getting an automatic siphon so that you WON’T have to suck on the tube to get it going. Leave your mouth’s bacteria out of your wine!
The final step is wine bottling!
But before that, don’t forget to take a gravity reading with the hydrometer so that you can calculate the final ABV of your blueberry wine.
- You should receive a specific gravity reading of below 1.010.If you get a different reading, leave your blueberry wine for a few more days before trying again.
Now leave it alone for another month. Prepare to repeat the racking process if you’re not satisfied with how it looks after a month!
7) Bottling and Toast!
Bottling your wine looks the same as racking. Place the wine bottles on the ground and the filled demijohn on a countertop above.
Use your automatic siphon to get the job done, then cork and seal your finished product!
This blueberry wine’s final ABV should be around 12%. This might not sound too bad, but alcohol content won’t actually tell you how hard and fast this blueberry wine will hit you.
Fruit wines, in particular, can be quite mischievous, so keep a chair handy if you plan to drink a lot!
Take a good, long look at your final wine. The pectic enzyme should have helped your wine clear, so you shouldn’t see any funky clouds of haze inside.
After all that waiting time, it’s finally time to take a sip!
Hopefully, your blueberry wine has been customized to your taste. If you want to boost its alcohol content, just let it sit for longer, as blueberry wines get drier and stronger over time!
FAQs
Before you head off to make some blueberry wine, check out these questions for more tips on the whole process!
How Delicious Is This Blueberry Wine Recipe?
Extremely! Imagine munching on a few juicy blueberries right now. It’s kind of like that, except in liquid form.
Sounds heavenly, right?
Plus, the added benefit of making blueberry wine is that you can alter everything about the taste profile with just a few slight tweaks.
With this guide, you’ll be able to craft the PERFECT fruit wine to suit your tastes!
You could make a brilliantly sweet wine, which could be paired with all kinds of dinners. A sweeter fruit wine could even be knocked back with a dessert on the side!
What if I Added Too Much Yeast to My Blueberry Wine?
Let’s say you went a little overboard with the yeast. Now you’re worrying if it will affect the taste of your blueberry wine. We’re here to tell you to relax!
Yeast can only do so much with the sugar inside your wine until it runs out and has to “go to sleep.”
Just in case you used up an entire yeast packet during the early parts of the process, you can just remove it the next time you rack your wine.
If you don’t remove it and then decide to backsweeten your batch, that’s when you should watch out! We discuss that down below.
What if I Don’t Have the Other Ingredients?
If you want to make this blueberry wine recipe but would rather skip out on the yeast nutrient, pectic enzyme, and whatnot, that’s fine!
The three main ingredients you’ll really need are blueberries, sugar, and yeast.
To get a little closer to the original recipe, you can use these common household substitutes:
- Lemon juice can be used as a stand-in for citric acid.
- You can use raisins as a substitute for yeast nutrients.
- Strong black tea has tannins in it, which is perfect for brewing.
Just keep in mind that blueberry wine made like this will take more time to ferment fully, so expect to be kept waiting in knots for longer!
Do I Really Need to Seal My Fermenting Container?
During this long process, you might want to skip the hassle of using the airlock during primary fermentation.
Lucky for you, that’s completely fine!
It’s perfectly safe to open-ferment your blueberry wine if you want to because the yeast will handle anything that tries to sneak into your homemade wine.
The main reason wineries recommend using the airlock is to prevent spoilage, but the yeast will protect your must anyway.
On the other hand, leaving your container open will lead to a faster and more vigorous fermentation. Ultimately, it is up to you to decide, but we recommend using the air lock!
What Is Wine Must?
Taking its name from the Latin word Mustum, or “young wine,” must is exactly what its translation sounds like; it’s a wine that hasn’t been fermented yet!
In other words, it’s just crushed fruit juice, with all of the skins and other good bits left inside.
Technically, must is perfectly drinkable on its own, and we encourage you to have a sip of your blueberry wine at this stage to see if it’s developing to your taste.
At this point in the wine-making process, you can try the must and add ingredients to your liking, like more sugar if need be.
Can I Adjust This Blueberry Wine Recipe?
This recipe will only make about 1 gallon of wine at the end. If you want to make a larger batch of your own wine, then you can scale up all of the ingredients featured above.
If you’re making multiple gallons’ worth of blueberry wine, you can just use up an entire packet of wine yeast, no worries!
Does Blueberry Wine Need to Be Refrigerated?

This will depend on the alcohol content of your homemade wine.
You should keep a bottle of wine with a lower ABV in your wine cooler unless you want to risk it going flat. In the worst-case scenario, a warm wine will essentially transform into vinegar.
However, if your wine has an ABV higher than 15%, keeping it at room temperature should be fine.
Just keep it away from light, and don’t let it age for longer than a few years.
Is It Necessary to Add a Wine Stabilizer?
Here’s where we continue that yeast packet discussion!
Beginners will usually add stabilizers like Campden tablets to their homemade wine. This is mainly so that they can avoid accidentally creating bottle bombs, but it’s not exactly necessary.
You’d need to add a stabilizer to your wine if you’ve added more sugar or sweetener to your wine in between the primary and secondary fermentation steps.
This is because adding this extra sugar WILL wake up your yeast and restart the fermentation process all over again.
Remember those bottle bombs we mentioned earlier?
They’re the result of your wine yeast waking up and gorging itself on extra sugar. This bonus round of fermenting creates pressure inside your bottles until they go…BOOM!
A good ratio to use is 1 crushed-up Campden tablet per gallon of wine you’re making.
If you’re making a larger batch of wine, adjust the number of tablets as necessary. Potassium sorbate will also do the job. Use 1/2 tsp per gallon of wine.
Can I Use Yeast Nutrient Instead of Yeast?
Unfortunately, no.
Despite their names being only one word apart, these two yeast products are different from one another.
For starters, a yeast nutrient is more like a supplement or helper to yeast than a complete substitute.
It’s also not exactly necessary in your wine, but it helps the yeast make a better wine all-around. You can choose to throw in just a pinch for peace of mind!
Should My Fermenting Demijohn Be Completely Full?
You might be tempted to fill up your demijohn to the brim when you’re making wine. This would be a bad idea, plus it wouldn’t even be possible because of the siphon tube you’re using!
Wine making (and this is the same for all homebrew drinks) requires something called a “headspace” inside every fermentation container used in the process.
This headspace is the gap between the top level of your wine, and the top of the container you’re using.
For a more consistent batch of wine, leave a headspace of at least 2-3 inches when racking your wine.
If you want to eyeball this part of the process, just fill up your demijohn right up to the base of the neck, where it starts to narrow.
If your container isn’t filled up enough, you’ll be letting too much air inside the demijohn.
Your wine will lose its flavor and color with too much air inside, eventually turning into vinegar.
Wrapping Up
And that wraps up our blueberry wine recipe guide!
Successfully crafting this blueberry wine recipe is like taking your first step to becoming an at-home sommelier! Congratulations!
As you enjoy your finished wine, you’ll see that making fruit wines is an amazing experience that’ll let you truly bring out the deep flavors of blueberry.
Whether you’re pairing this with a meal or having a sip before bed, we know you’ll love your homemade blueberry wine!
Lead marketer, brewer, dad, and husband. Pretty much an all-round awesome guy.
Read more: